Once you make your own tortillas, it’s going to be hard for you to buy the ones from the store again. Homemade are so much better!
What’s great about this recipe is that once you get the hang of it, it’s quite easy. I’ve included a lot of instructions and tips to help with your first time making them. However, once you know the basics, it’ll get easier and easier, so don’t be afraid of the huge amount of text down in those instructions. I get turned off recipes if there is too much text in the instructions too, so I just want to let you know ahead of time that it’s much better than it looks.
If any of you are worried about the “no kneading” idea, I understand. There are many flour tortilla recipes out there that insist on 5 constant minutes of kneading or 50 fold and turns etc. But, I have found that kneading creates a really gummy texture that I don’t like. I prefer them a bit flaky, but still pliable. This recipe turns out perfect with no kneading what-so-ever. Trust me.
I have read that you can use white spelt or soy flour (or a combo of both) in the same quantity in place of the regular flour for tortillas, but I haven’t tried these yet. If you do, let me know if this recipe works out and I’ll edit it to include these alternatives.
These tortillas are perfect for soft tacos, fajitas, burritos, any kind of wrap and oven dishes like enchiladas. Or you can try them as an alternative to tortilla chips by cutting them into triangles, and baking them until crisp. For dessert, drizzle them with a bit of melted butter and sprinkle them with some sugar and cinnamon. YUM!
The Best “No Knead” Flour Tortillas
For 12 tortillas:
- 2 cups all-purpose, unbleached flour (if you can, use organic as you can really taste the flavour of the flour)
- 1 tsp. baking powder
- 1/2 tsp. salt
- 1/4 cup vegetable oil
- 1/2 cup milk (I use whole milk)
- 1/4 cup of warm water (you may not need it all)
In a large bowl, sift together the flour, baking powder and salt. Make sure you actually sift it. I’m one to skip this kind of step too, but trust me, it makes a difference in texture.
Drizzle the oil into the flour mixture and with your hand, stir it in. Use your hands to kind of play with the mixture until it looks crumbly and there aren’t any floury looking spots left. Set aside.
Warm up your milk in a small sauce on medium heat. Watch it closely. You don’t want it to be foaming – that’s too hot. When you see a bit of steam rising from the surface, it’s done.
Drizzle the warm milk into the flour mixture and stir it with a fork. The dough will come together, but there should still be crumbly bits in the bowl. Drizzle the crumbly bits with a bit of the warm water and with your hands, gently work the dough together in the bowl. It will be pretty sticky and stick to your hands. Don’t worry, this is what it’s supposed to be like at this point.
Once there are no crumbly bits in the dough (you may not use all the water), cover the bowl with plastic wrap. Let the dough rest for 30 minutes. That’s right – no kneading involved! Don’t be tempted to knead that dough!
After the dough has rested, take it out of the bowl and gently smoosh it together with your hands to form a flattened circle. You don’t want to over work the dough, so make sure your don’t smoosh it too much. Place it on a lightly floured surface, like a wooden cutting board. Cut the circle in half, and then cut each half in half. Gently pat each quarter into a uniform log and cut into 3 pieces being careful not to overwork your dough again. This will give you 12 pieces of dough for 12 tortillas.
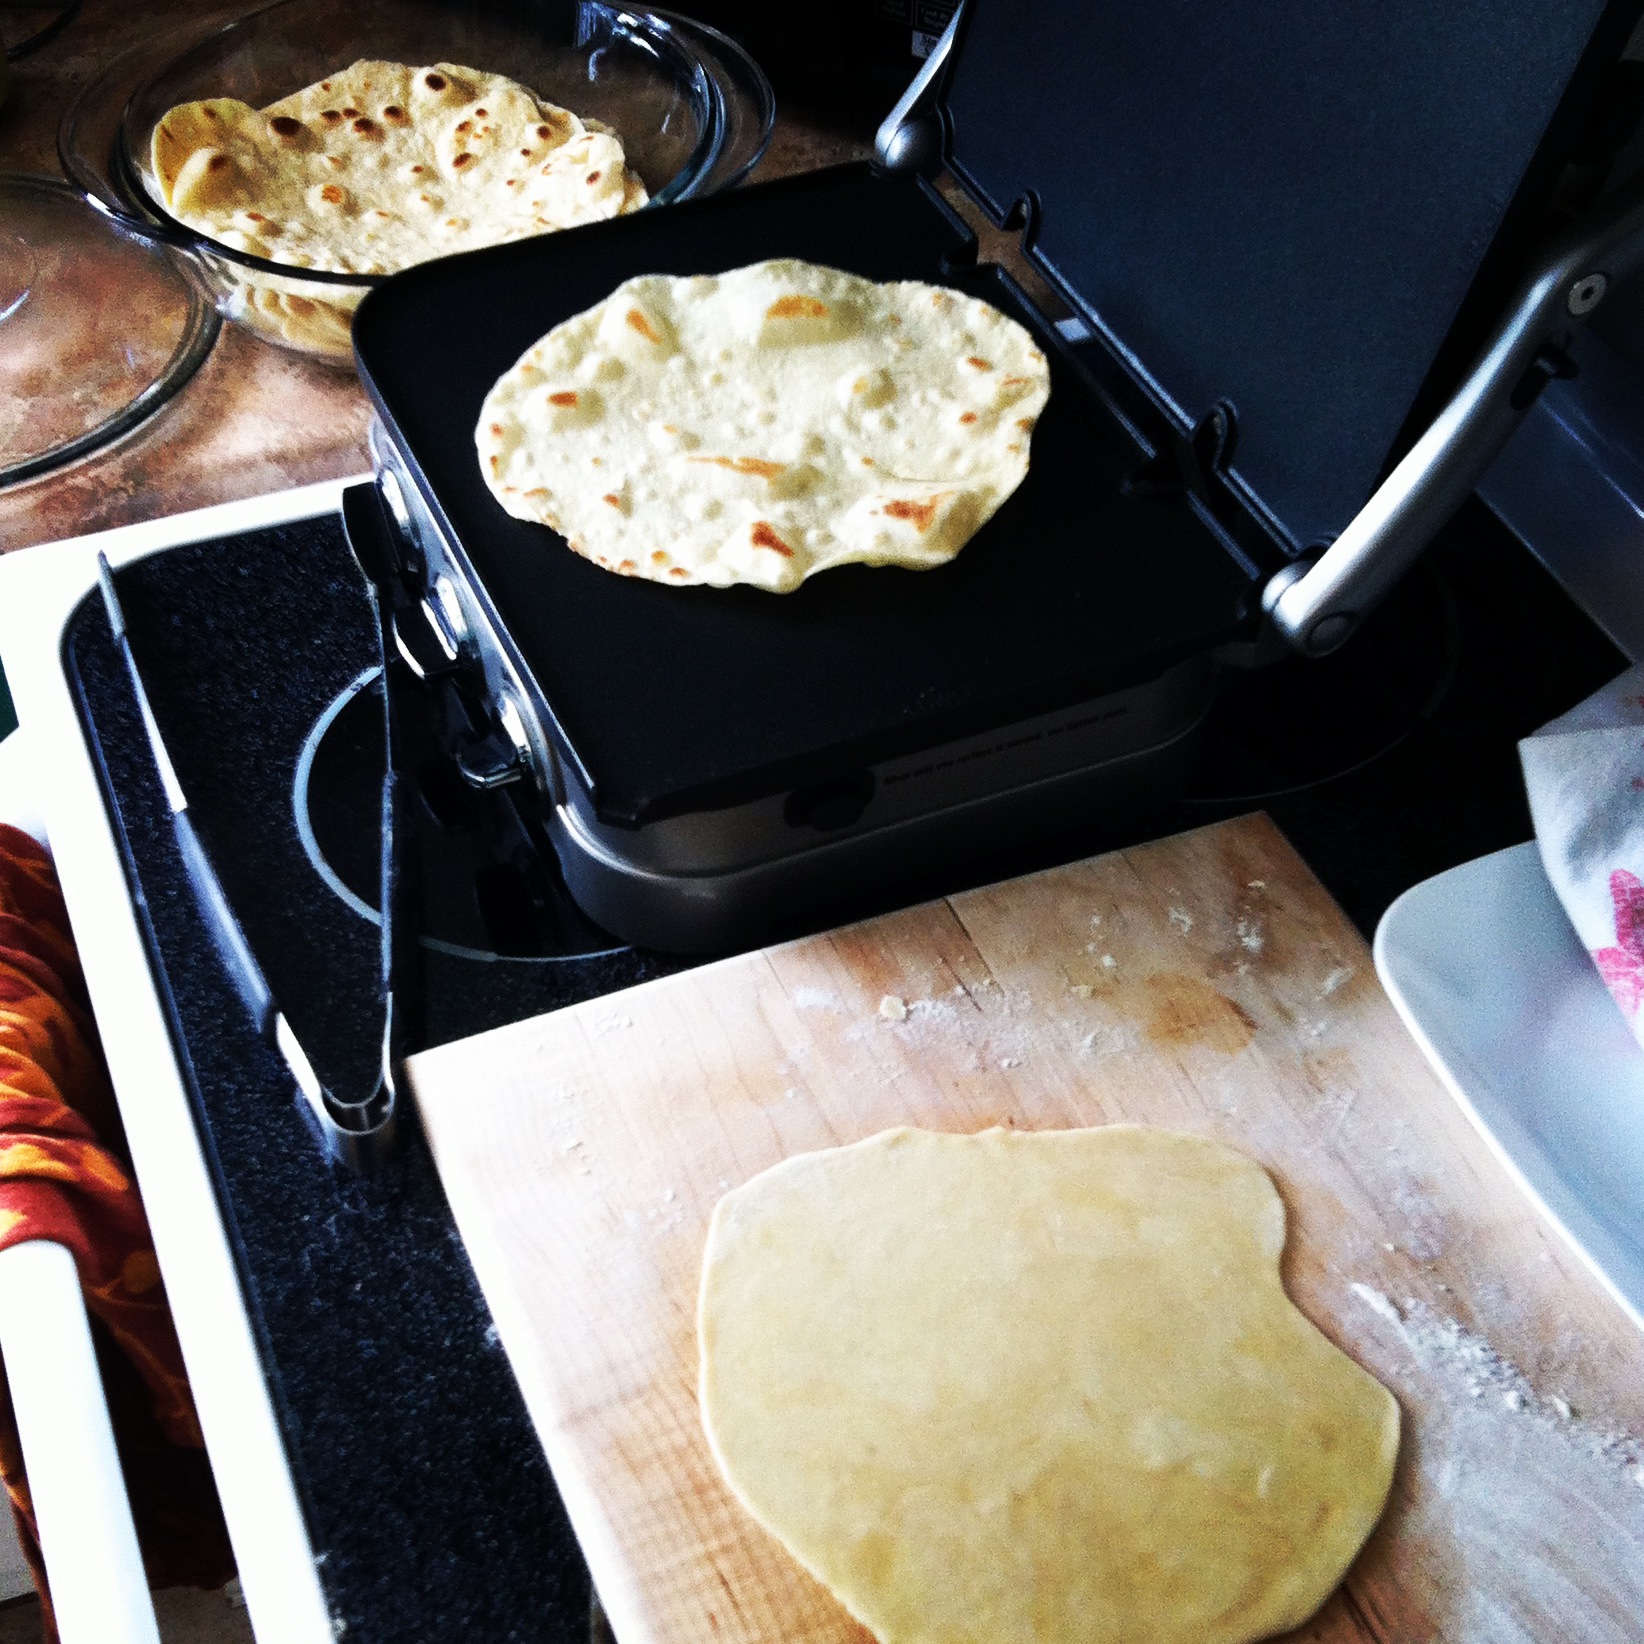
Preheat your griddle to 425 degrees F. Don’t spray or oil your griddle, you want it to be dry. I find that a flat griddle works best for tortillas. I have a Cuisinart Griddler that can be a flat griddle, grill or a panini press because it has different plates you can use and it works great. If you don’t have a griddle, you can use a non-stick or well-seasoned cast iron frying pan on medium-high heat.
Place 1 piece of dough on your lightly floured surface. Put the rest of the balls in the same bowl they rested in and cover with the plastic wrap again. Lightly dust the top of the ball of dough with flour and gently flatten with your hands into a small circle. With a rolling pin, roll the circle out. If it is sticking to anything, dust with a bit more flour. You want to roll it out really thin. You should be able to see through the dough a bit. It should measure about 8-9 inches across when you’re done rolling.
Don’t worry about making perfect circles, they should look rustic. I like to roll one out as another one cooks. Don’t roll them all out at once as they will shrink a little while waiting to be cooked and won’t turn out as thin. Also, over rolling or rolling out twice will give you tough, hard tortillas, so try to work them as little as you can.
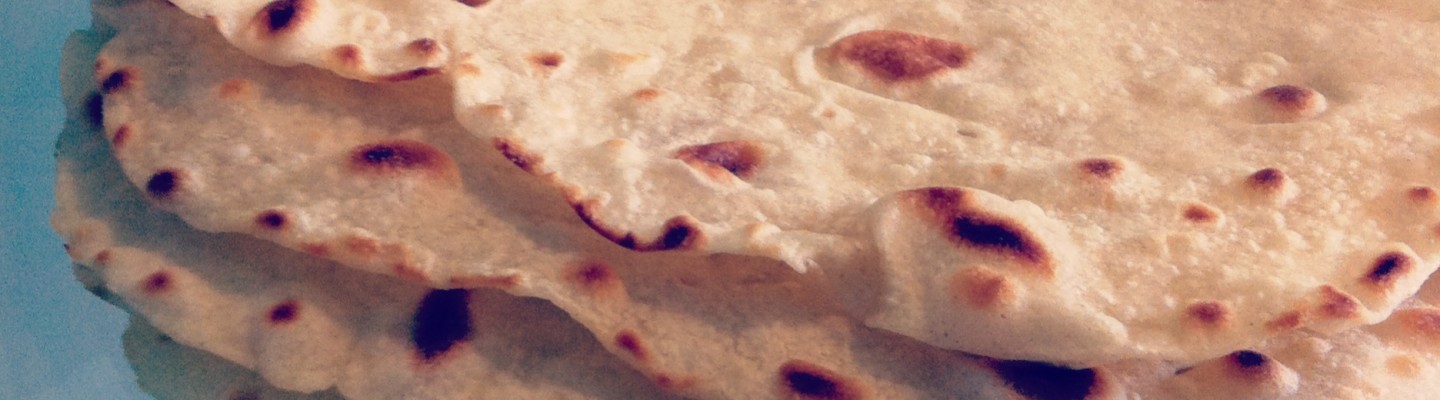
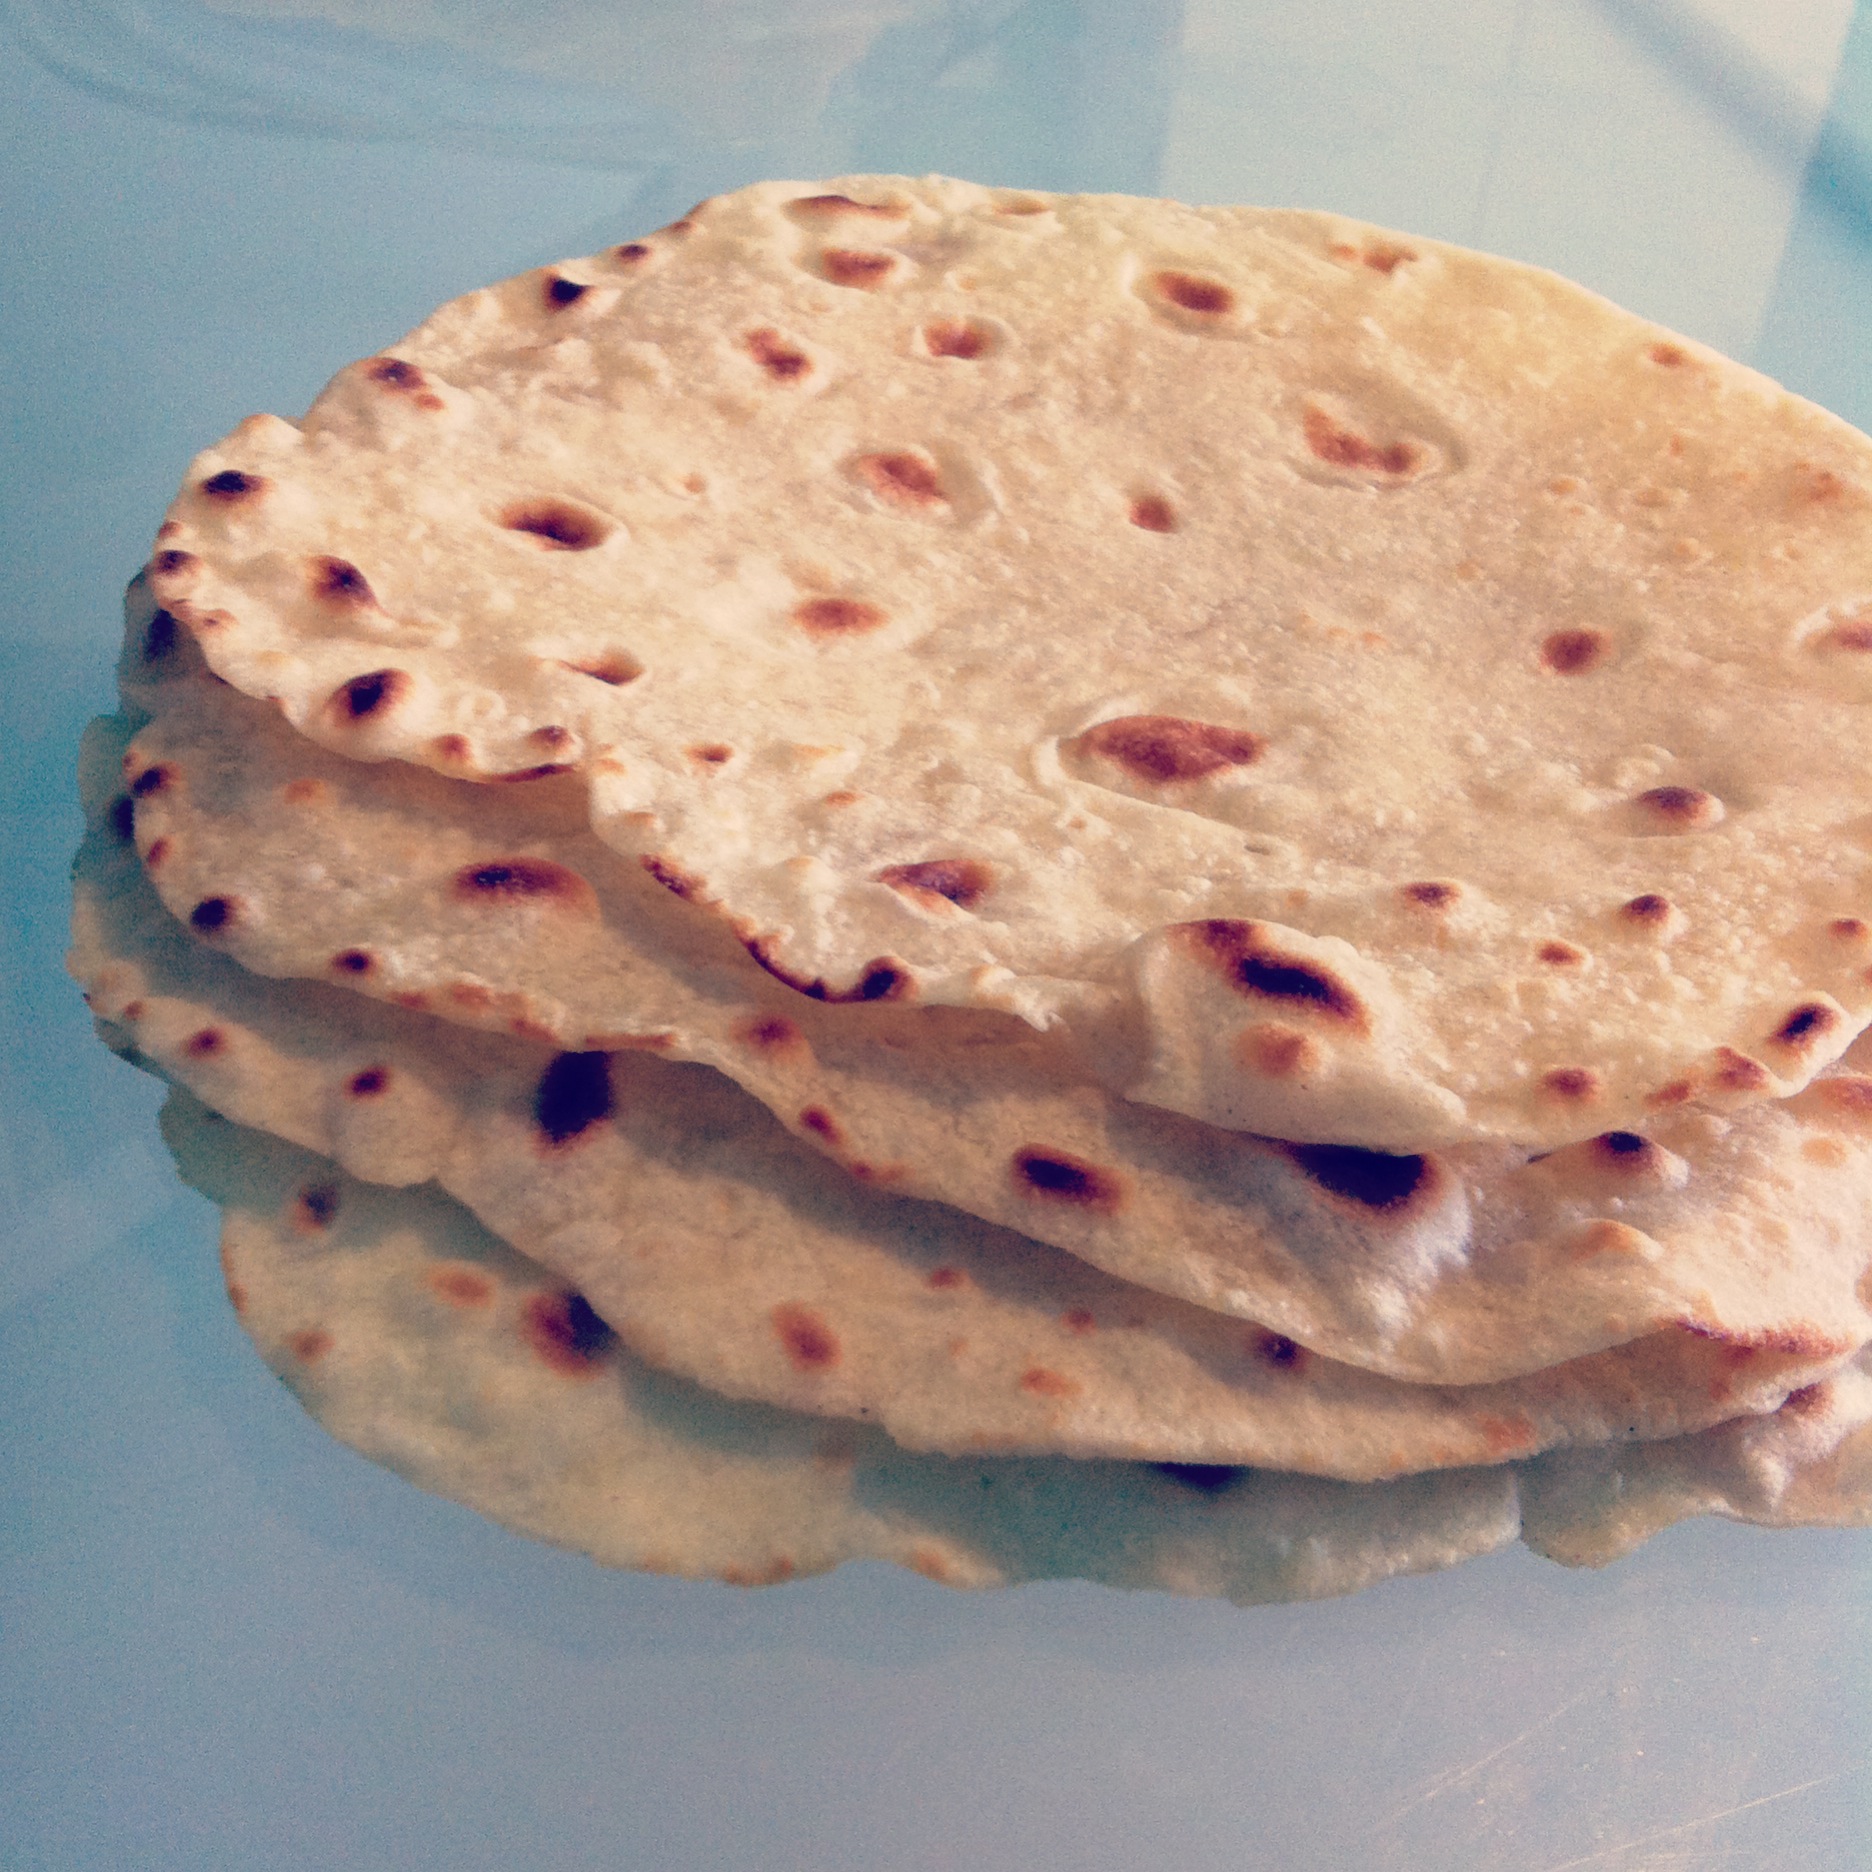
Place your rolled out tortilla on your preheated griddle or frying pan. It should only take about 30 seconds per side to fully cook them. I like to flip them with tongs. If there are any really large air pockets that form, I poke them with the tongs to let some air out. They will have medium to dark brown spots, but still be pliable when they are done. Don’t cook them too long as they will turn out too crispy and hard and you won’t be able to roll them. I keep my cooked tortillas in a casserole dish that has a lid on it as the others are cooking because I like mine to steam a bit to get softer. You can also wrap the finished ones in a tea towel if you want them to remain a bit firmer.
Continue rolling and cooking your tortillas. As you get faster at rolling, you can roll one out while one is cooking and this makes the process go a lot faster. Create an assembly line, like the one in the picture below to make sure you can watch the tortillas while they cook, so you don’t burn them.
Serve them warm right away or make them ahead of time and store them in a container in the fridge for up to 1 week. Just be sure to warm them up before serving.